How to install NextCloud on Debian 10
This is reproduced from a wonderful post by James @ Cloudcone. Debian is a great choice for a Linux Distro and Nextcloud for a DMS/ file store.
James’ link is here.
Nextcloud is a self-hosted file share and collaboration platform. NextCloud works much like cloud applications like DropBox and Google Drive. It allows you to store and share your files in a secure and convenient manner across both desktop and hand-held devices such as smartphones. In this tutorial, you will learn how to install NextCloud on Debian 10.
Prerequisites
A running instance of the Debian 10 server. You can deploy a fully-managed VPS or cloud server instance at only $3.71 from Cloudcone.
Step 1: Install Apache webserver
Since Nexcloud will run on a web browser, the first step will be to install the Apache webserver. To achieve this, first update the system,
# sudo apt update -y
Next, to install Apache execute the command
# sudo apt install apache2 libapache2-mod-php
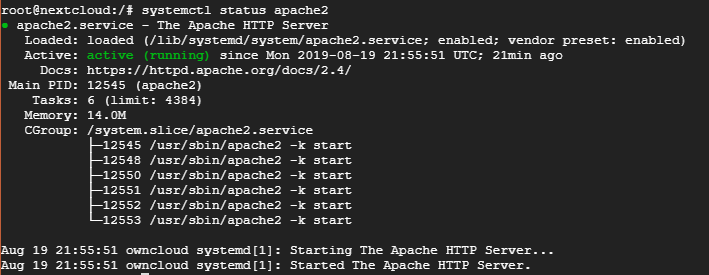
Once installed, verify the status of Apache using the command
# systemctl status apache2

From the output above, we can clearly see that the Apache webserver is up and running.
Step 2: Install PHP
For Next Cloud to successfully run, we need to install PHP and other dependencies. To achieve this execute the command:
# sudo apt-get install -y php php-gd php-curl php-zip php-dom php-xml php-simplexml php-mbstring
To verify the version of PHP you have installed, run the command
php -V
As you can see in the output below, the latest PHP version (at the time of writing this article) is PHP 7.3

Step 3: Install MySQL database
A database will be required to accommodate the installation files of Next Cloud during the installation process. For that reason, we shall install the MySQL database as follows.
# apt install mysql-server php-mysql
Once the installation is complete, log in to MySQL as shown
# mysql -u root -p
Next, create a database for Next Cloud as shown
CREATE DATABASE nextclouddb;

GRANT ALL ON nextclouddb.* TO 'nextcloud_user'@'localhost' IDENTIFIED BY 'strong password';

FLUSH PRIVILEGES;

EXIT;

Step 4: Download Nextcloud
With the database configured, now it’s time to download Nexcloud. First, navigate to the temporary folder
cd /tmp
Download Nextcloud zip file using the command
wget https://download.nextcloud.com/server/releases/nextcloud-16.0.1.zip
Perfect!
Next, unzip the compressed file using the command
# unzip nextcloud-16.0.1.zip
Next, move the unzipped folder to the webroot directory as shown
mv nextcloud /var/www/html
Navigate to the document root folder and change the file ownership to www-data .
cd /var/www/html
# sudo chown -R www-data:www-data nextcloud
Also, change the file permissions as shown
# sudo chmod -R 755 nextcloud
Step 5: Install Nextcloud via a browser
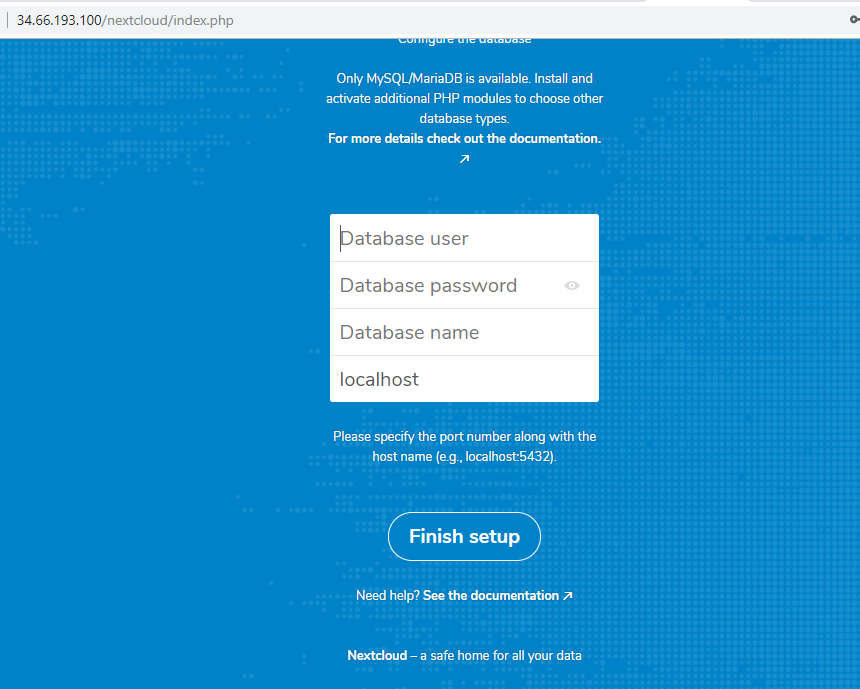
To install NextCloud on Debian 10 via a browser, open your favorite browser and browse your server’s IP as shown

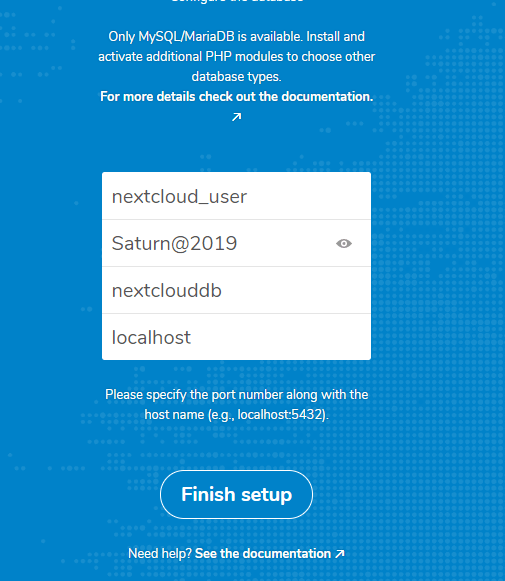
Be sure to fill in all the fields shown above with the corresponding values in the NextCloud database.

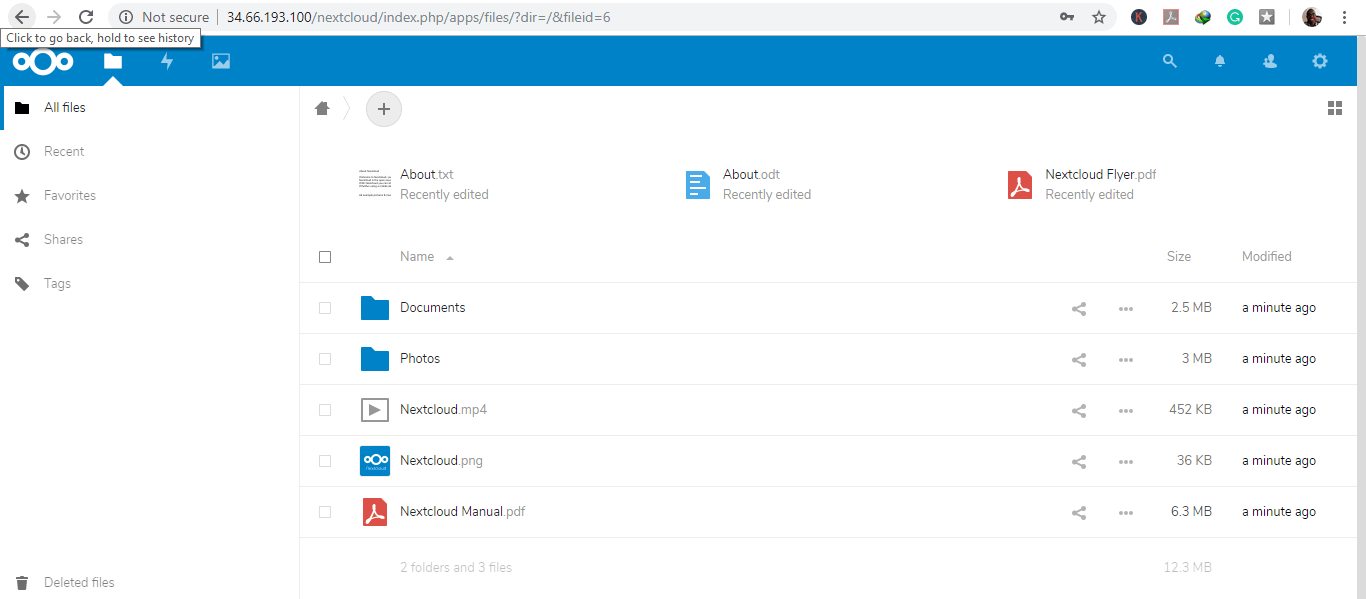
When you are all set click “Finish setup” This should usher you to Next Cloud’s dashboard as shown below

Give it a go and let me know how you get on.